HOW TO MAKE BLINKIES
(MY JANKY PROCESS)
This is how I made these Blinkies


Tools
To create these blinkies, I used a piece of Free and Open Source software called Libresprite. It's available for Linux, Mac (not Silicone afaik) and Windows.
Mac and Windows will have other, possibly better options, but this is the best thing I can find for pixel art on Linux that's free. It's based on the popular Aseprite application.
There's a couple other resources I usually use but I'll mention them when relevant.
Method
Static Blinkies
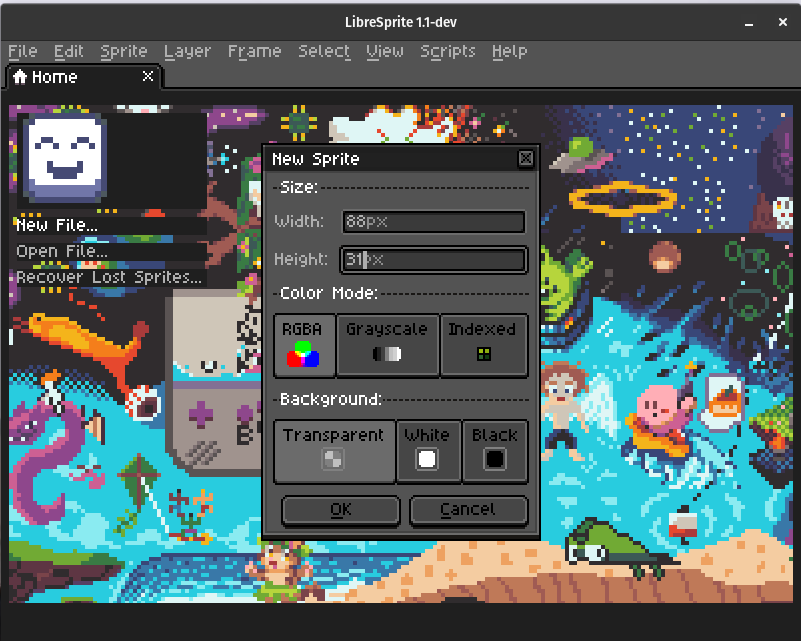
The standard Blinkie Button (afaik) is 88x31 pixels. In Libresprite, create a new sprite and set the Size to 88px by 31px.
The tools should be pretty self explanatory if you've ever used MS paint, but if (like me!) you're not very good at art, here's a tip!
Use an existing Color Pallette! I like to pick ones with very few colors - I've been using modern-interface for mine so far.
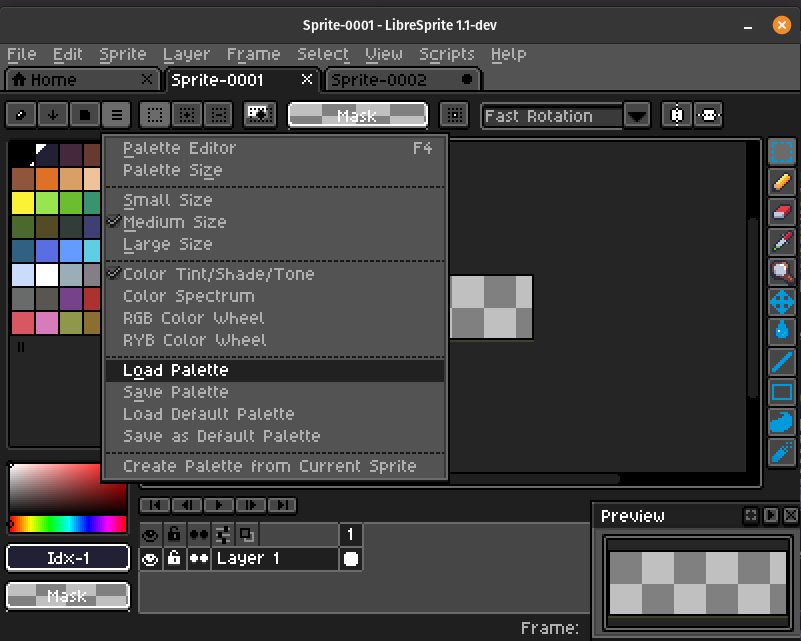
Click here to load a pallette. You'll need to save the 1x1 image from lospec
You might want your Blinkie to have some text. You can try drawing this yourself, but a resource i love is THIS. Right click and open the panel on the right in a new tab, copy it to your clipboard, then in Libresprite choose new file. It should automatically set the sprite size to what you have on your clipboard, allowing you to easily paste the image into your document. I use this trick all the time to get files into Libresprite quickly, including gif frames (more on that later)! Otherwise you can just save it to your machine and open it in Libresprite.
To add images to your Blinkie, use the same trick to get the image into Libresprite. If you need to resize it to fit, choose Sprite -> Sprite Size. Be sure Lock Ratio is checked, then set the Height to 31px to fit perfectly in the Blinkie, or a smaller value if you prefer. If there's alot of whitespace around your image, drag it to the top left then use the Sprite -> Canvas Size option to get a neat fit before resizing
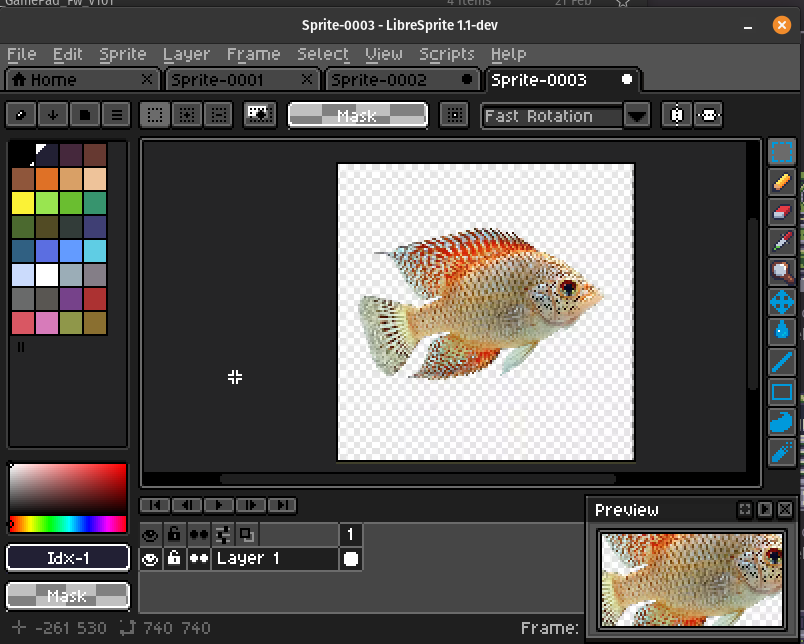
before
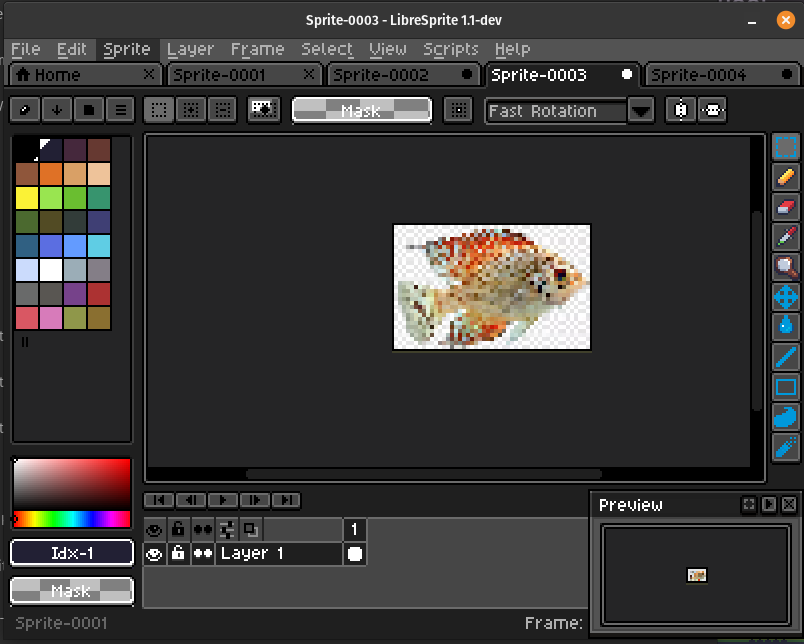
after
You might want to clean up the background to make it transparent before adding it to the blinkie. A good trick for this is to pick the eye-dropper tool and click somewhere outside your image. This will set the selected color to transparent so you can brush/fill the background to get rid of it. Starting with transparent PNGs is obviously easier!
Animating your Blinkie is slightly more involved, so stay tuned for the next entry!